Showing posts with label Crafts. Show all posts

Wednesday, September 7, 2011

Chalk Paint

Bring some color to your driveway and entertain the kids for hours with some rainbow chalk paint.  It's cheep and easy to make and will cleanup itself next time it's rains.   We decided to make a windy road to ride our bikes on.

Chalk Paint
  • 2 table spoons of Corn Starch
  • 2 table spoons of Water
  • 5 drops of food coloring

Friday, April 22, 2011

Speed Racer

What we are doing today... Making Recycled Race Cars.


1. Paint a roll of paper towels

2. Punch a hole in a recycled lid.  (This lid was too small. for our car) 
Cut 4 wine corks in half. 

3. Punch hole in side of paper towel tub and push bbq stick through. Add one lid and wine cork on each side.
Cut the stick to make a clean edge
4. Stample the side closed.  You can leave the back side open if you want flames to come out the back. 
5.  Draw you Driver and cut out and glue on the top.
6.  Embelish your car!!!
7. Have fun!

What a Hoot Owl Craft

We have a small obsession with owls at our house, so I was excited to try a new owl craft made out of cardboard, paper and Paint.  It was so simple and fun to make.  It does help to have an example of an owl to look at for this project.  We used a owl stuffed animal from Ms room for our inspiration. 


How to make your own What a Hoot Owl.  
Feel free to ink over (trace) your kids lines with a black Sharpie Pen if some of the paint covers up the orginal lines. 

Monday, April 18, 2011

Life Size Self Portraits

Make a life size self portrait of your child.  All you need is a large roll of paper, a marker and some paint.   This is a great project to help teach the different parts of your body.
  1. Place the paper on the ground and have you child lay on the paper. 
  2. Trace their body with a pen
  3. Let your child paint a face and clothes

Monday, April 11, 2011

A Kandinsky Tree

A Rainy Day Monday Craft

For our tree we used a technique of collage, glue, cardboard and newsprint to created our bark.

Next we cut-out cardboard circles and painted them different colors.  After they dried we hot glued circles together.

We cut-out a moon and attached it to the top of our tree with a toothpick and some hotglue.

To complete the project we also glued a wood block to the back to stand it up.

This project is inspired by the work "Squares with concentric circles" of 1913, the Russian painter Wassily Kandinsky 

Friday, April 8, 2011

Watch Me Grow

Make Your Own Growth Chart
We painted a tree large with acrylic paint on the wall.  Then added an owl out of paper and MOD PODGE to make it stick.  MAC is obsessed with measuring things and loves to see how much taller she is today.   The best was when she demanded to put on her “high heels” (princess shoes) for the measurement. 

Thursday, April 7, 2011

A Royal Affair

A Prince and Princess CROWN

Here is a simple rainy day craft for kids. My sister came over with these pre-cut crowns from Joann Fabrics.  The kids loved painting them and embellishing them with stickers and glitter pens.  And 10 crowns for $2.99, you can't beat it.


Friday, April 1, 2011

Spring has Sprung

A Room Makeover

Our new wall mural made from recycled materials for spring time.

I love all the cherry blossoms trees in full bloom this time of year, so we decided to create one in the playroom...  and a cherry tree would not be complete without some caterpillars and butterflies.

This was a grate project with little kids.  MAC loved dipping and coloring the coffee filters.

  • the tree: is made of cardboard wrapped in Amazon packing paper. 
  • clothes line: is clothes pins on a string.  we display art work here or hang pieces when it needs to dry.
  • flowers: are coffee filters that we dipped in colored paint and water.
  • caterpillar: is a painted egg carton with pipe cleaner antenna
  • butterflies: are clothes hangers with coffee filter wings and pipe cleaner

Flower Power

Spring Flowers Pots

add some color to your room with recycled spring flowers. we love making recycled art projects and this is a fun and simple spring art project for kids.  the best part is the bloom lasts all spring and no watering needed.

project materials
  • cardboard
  • recycled lips and bottle caps
  • popsicle stick
  • paint
  • ribbon
  • glue

follow these steps
  • cut a flower pot shape out of used cardboard and paint
  • paint popsicle stick green
  • glue lids and caps together to make flower
  • glue (or duck tape) flower together
  • decorate flower pot


inspirational websites

Forest Hands

A Hand Tree

Here is another fun project from Fem Manuales.  The arm tree is made of cardboard and attached to a wooden block, and beneath the tree is a little self portrait.  A vrey fun and cute project for kids.


I'm a NUT

Paper Mache Squirrels

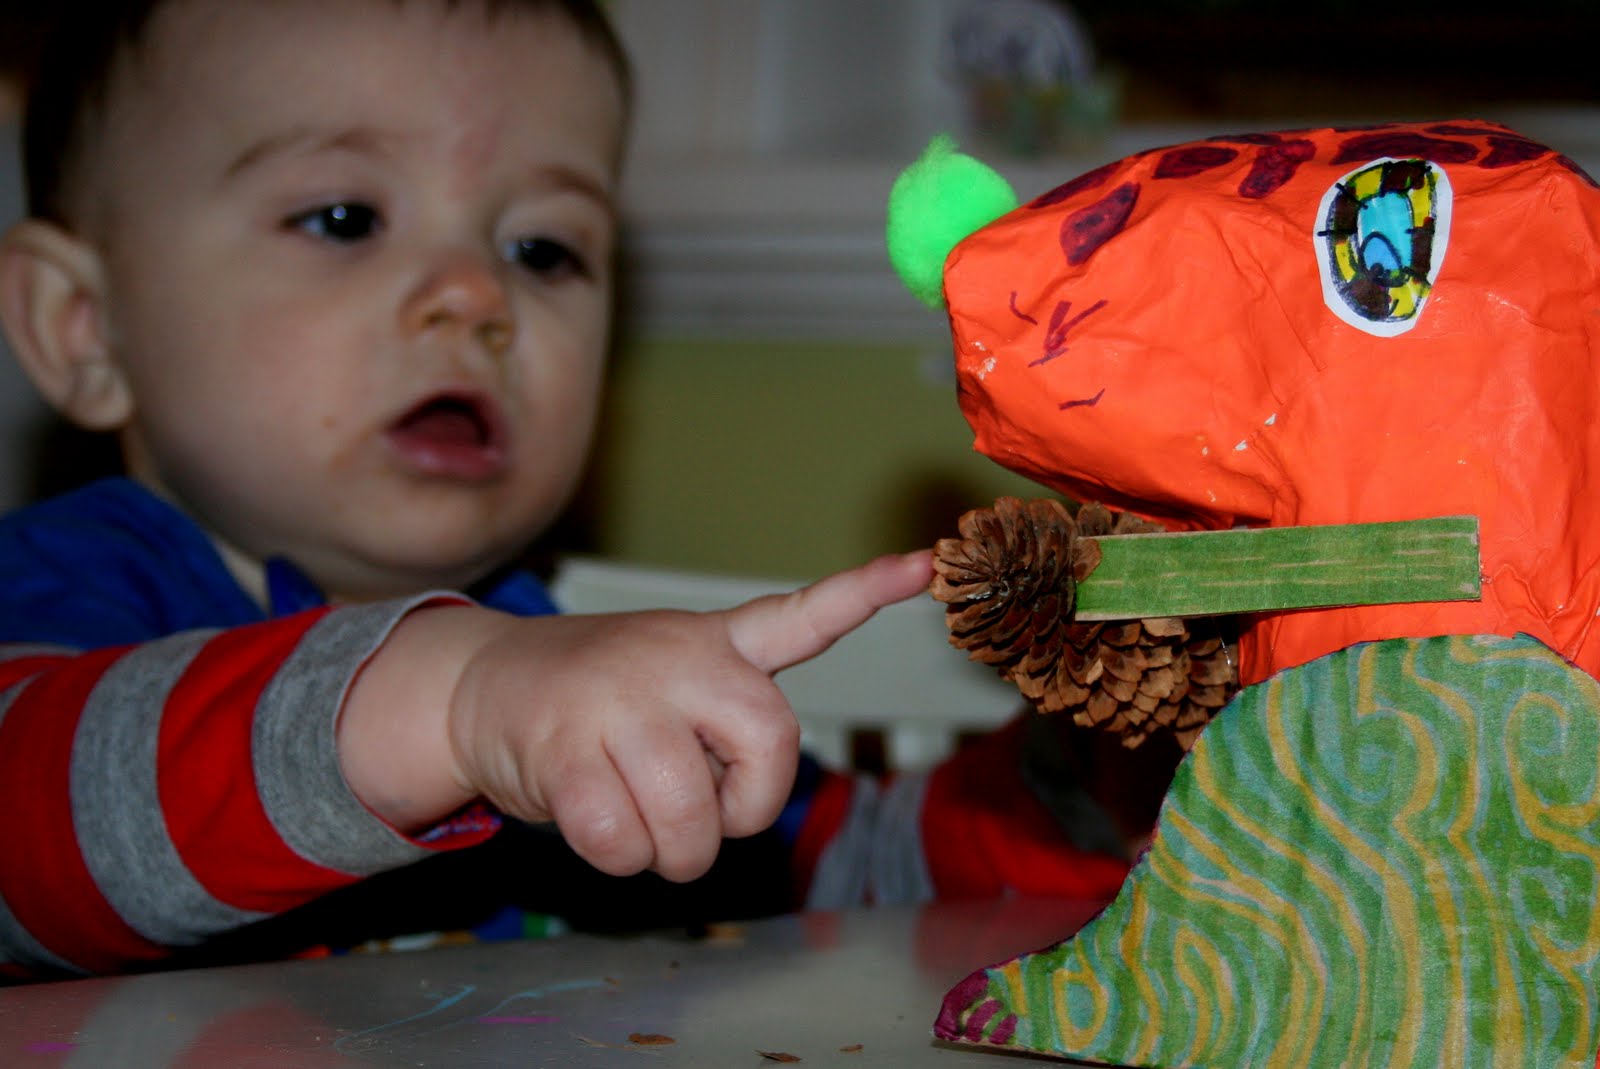
At my sister's house this we painted these paper mache squirrels.  She had a made a bunch up for the kids from recycled plastic cups and newspaper.  I love that we are both crafty and creative spirits.  I'm still looking for a big feather to finish the squirrel's tail but wanted to post anyways.  


Here is the website that explains how to makes these fun little critters.
Fem Manuales blogspot